How I Fixed the EverDrive 64 X7 Black Screen on the ModRetro M64
When I first tried using my EverDrive 64 X7 with the ModRetro M64, I could not get the EverDrive menu to appear. The M64 turned on, but all I received was a black screen.
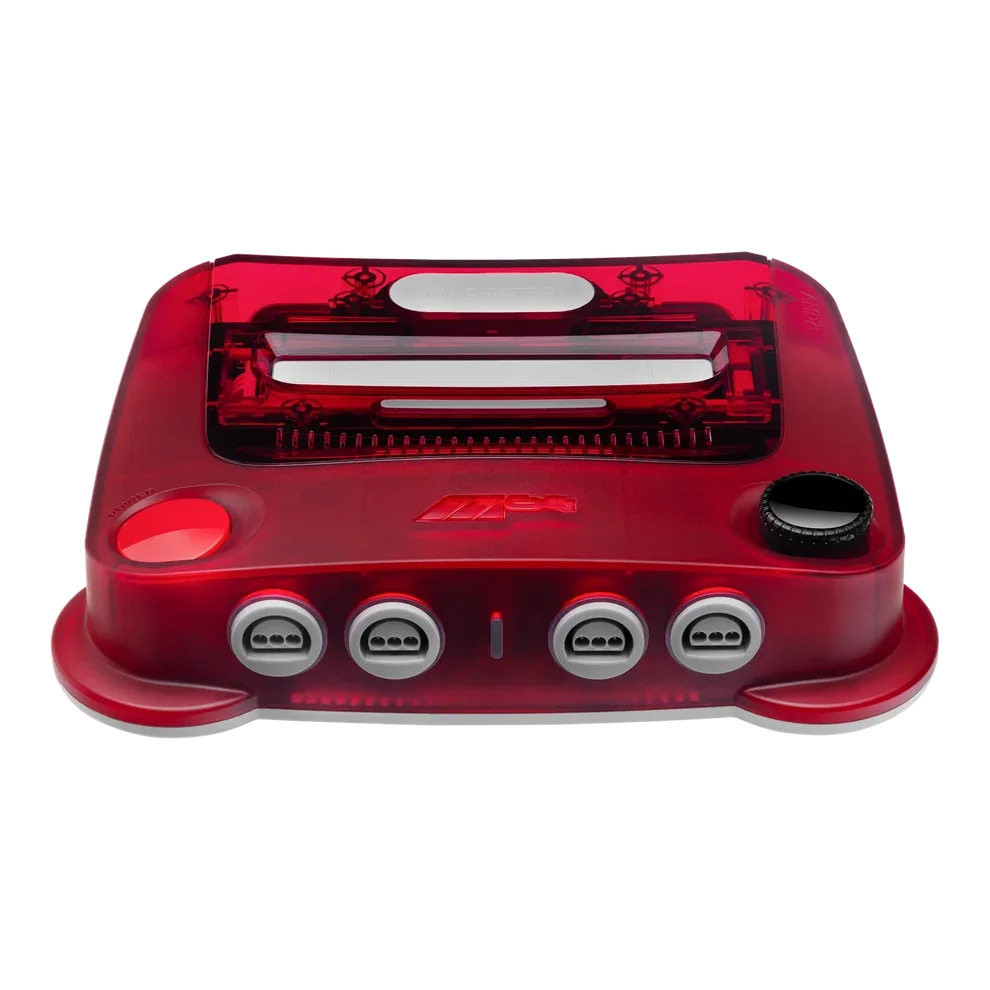
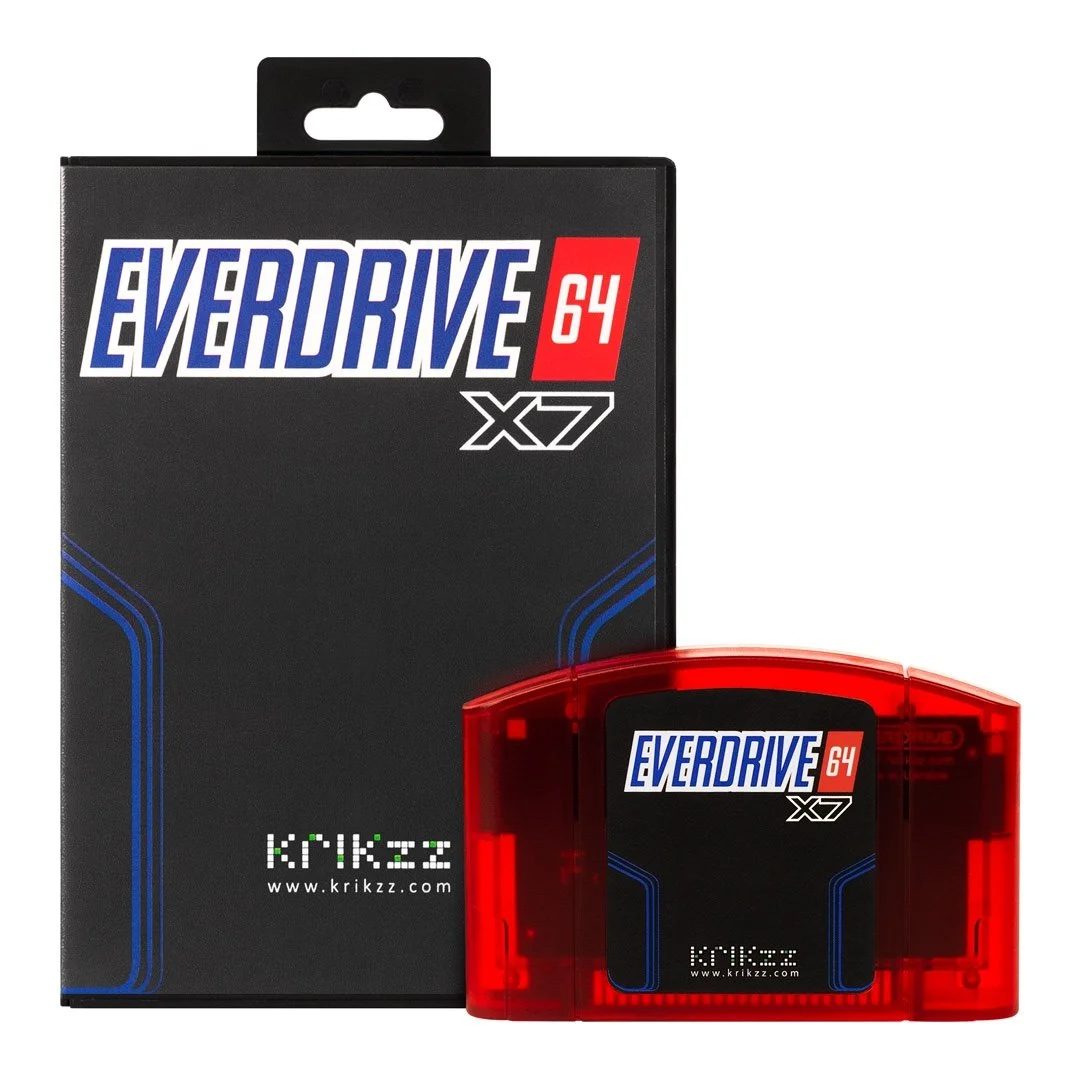
The cartridge needed an updated EverDrive OS and bootloader before it would start correctly on the M64.
After installing the newer bootloader with an original Nintendo 64, I moved the EverDrive 64 X7 back to the M64. It then booted normally instead of giving me a black screen.
Here is the complete process I followed.
Important: You Need an Original Nintendo 64
You cannot complete this update entirely on the ModRetro M64 if your EverDrive already produces a black screen there.
The bootloader installer must be launched from the EverDrive menu, which means the cartridge first needs to start on an original Nintendo 64.
You will need:
An EverDrive 64 X-series cartridge, such as the EverDrive 64 X7
The microSD card used inside the EverDrive
A computer with a microSD card reader
An original Nintendo 64
A controller
The official EverDrive OS and bootloader files
You are updating the microSD card inside the EverDrive cartridge. You do not need to modify the microSD card installed inside the ModRetro M64.
Download the Official EverDrive Files
All downloads below point directly to the official Krikzz website. I am not hosting, mirroring, or redistributing any of the files.
At the time of writing in August 2026, I used the following versions:
EverDrive 64 OS V3.11
Download OS-V3.11.zip from Krikzz
You can also check the official directory for a newer version:
Official EverDrive 64 X-Series OS directory
Krikzz states that OS V3.09 or newer is required because V3.09 added the bootloader installation function. I used V3.11 because it was the current version when I performed the update.
EverDrive 64 Bootloader V5.04
Download bootrom-v5.04.b64 from Krikzz
You can check the official bootloader directory here:
Official EverDrive 64 X-Series bootloader directory
The bootloader file is a .b64 file. Do not rename it, convert it, or try to extract it.
Step 1: Back Up the EverDrive MicroSD Card
Turn everything off and remove the microSD card from the EverDrive 64 X7.
Insert the card into your computer and make a backup of its contents before changing anything. I recommend copying the entire microSD card to a folder on your computer.
At minimum, make sure you have a backup of the existing ED64 folder because it can contain system settings, save files, cheats, and other EverDrive data.
Do not skip the backup.
Step 2: Install the New EverDrive OS
Extract the downloaded OS-V3.11.zip file on your computer.
Inside the extracted download, you should find an ED64 folder.
Copy that ED64 folder to the root of the EverDrive microSD card. The root is the main level of the card, not one of your game folders.
When your computer asks what to do with files and folders that already exist, choose the option to merge the folders and replace the older system files.
Do not delete your entire existing ED64 folder before copying the update. Merging the new folder with the existing folder helps preserve files that are not included in the update. This is also why making a complete backup first is important.
Your ROM folders can remain where they are.
Step 3: Copy the Bootloader File to the Card
Copy bootrom-v5.04.b64 to the microSD card.
The official instructions say that it can be placed anywhere on the card. I placed it in the root directory so it would be easy to find in the EverDrive menu.
The card should now contain:
The updated
ED64system folderYour existing game and ROM folders
The
bootrom-v5.04.b64bootloader installer
Safely eject the microSD card from your computer and place it back inside the EverDrive 64 X7.
Step 4: Install the Bootloader Using an Original Nintendo 64
Insert the EverDrive 64 X7 into an original Nintendo 64.
Do not try to perform this part on the ModRetro M64 if the EverDrive only gives you a black screen there.
Turn on the original Nintendo 64 and wait for the EverDrive menu to load.
Navigate to the location where you copied bootrom-v5.04.b64.
Highlight the file and press the A button.
The updated EverDrive OS should recognize the .b64 file as a bootloader installer and begin the installation process. Follow the instructions displayed on the screen.
Once the update begins, do not:
Turn off the Nintendo 64
Press the reset button
Remove the EverDrive
Remove the microSD card
Disconnect power from the console
Leave everything powered on until the EverDrive reports that the installation has finished.
After the update is complete, turn off the original Nintendo 64 normally.
Step 5: Test the EverDrive on the ModRetro M64
Remove the updated EverDrive 64 X7 from the original Nintendo 64 and insert it into the ModRetro M64.
Turn on the M64.
In my case, the EverDrive menu now appeared normally. The black screen was gone, and I could browse the card and launch games from the EverDrive.
After confirming that everything works, you can remove bootrom-v5.04.b64 from the microSD card. Leaving it on the card should not normally cause a problem, but removing it prevents the installer from being launched accidentally later.
What to Do if You Only See “File Info”
If you select bootrom-v5.04.b64 and the EverDrive only offers options such as “File Info” or “Hex Info,” the updated operating system probably was not installed correctly.
The bootloader installer function was introduced with EverDrive 64 OS V3.09. Older versions can see the .b64 file but cannot launch it as an installer.
Try the following:
Turn off the original Nintendo 64.
Remove the EverDrive microSD card.
Confirm that you downloaded OS V3.09 or newer.
Copy the updated
ED64folder to the root of the card again.Allow the new system files to replace the older versions.
Return the card to the EverDrive and restart it on the original Nintendo 64.
Once the newer OS is actually running, selecting the bootloader file should start the installation process.
What if the EverDrive Also Has a Black Screen on the Original N64?
This procedure depends on the EverDrive being able to start on an original Nintendo 64.
If it also shows a black screen there, try cleaning the EverDrive’s cartridge contacts with high-concentration isopropyl alcohol and allowing them to dry completely. Also inspect the microSD card, reseat it, and confirm that the updated ED64 folder is located at the root of the card.
You may also want to test a standard Nintendo 64 cartridge to confirm that the original console itself is working.
A black screen on both systems may indicate a different cartridge, microSD card, power, or connection problem.
What if I Do Not Own an Original Nintendo 64?
The easiest option is to borrow an original Nintendo 64 long enough to perform the update. The installation itself only needs to be completed once.
There are hardware modification discussions online involving changes to the EverDrive cartridge, but I did not need to modify my cartridge. Using an original Nintendo 64 and the official Krikzz software was the simpler and safer option for me.
Why Does This Fix Work?
Krikzz originally documented this bootloader update as a compatibility fix for the Analogue 3D. The official notes do not specifically identify the ModRetro M64.
However, my EverDrive 64 X7 had the same basic symptom on the M64: it produced a black screen before the update and worked normally afterward.
The newer EverDrive OS includes the bootloader installer, and the updated bootloader allows the cartridge to initialize correctly on newer hardware in situations where the older bootloader does not.
I cannot say that every M64 and EverDrive problem has the same cause, but this procedure fixed my particular EverDrive 64 X7 black screen.
Final Result
The complete process was:
Back up the EverDrive microSD card.
Install EverDrive 64 OS V3.09 or newer.
Copy the official
.b64bootloader file to the card.Start the EverDrive on an original Nintendo 64.
Select the bootloader file and complete the installation.
Move the EverDrive back to the ModRetro M64.
After doing this, my EverDrive 64 X7 started normally on the ModRetro M64 and the black screen was gone.
Official Links and Sources
ModRetro M64 official product page
Official Krikzz EverDrive 64 X-Series OS directory
Official Krikzz EverDrive 64 X-Series bootloader directory
Official Krikzz bootloader instructions
Disclaimer
This post describes the process that worked with my own EverDrive 64 X7 and ModRetro M64. Back up your microSD card before changing system files. Do not interrupt power while the bootloader is being installed. ModRetro and Krikzz are separate companies, and this should not be interpreted as an official statement of ModRetro flash-cartridge compatibility.